How to Put On a Glueless Wig: A Step-by-Step Fit in 15 Minutes
A glueless wig stays on with combs, straps and a good fit, not adhesive. Here's the full routine — prep, placement, securing, blending — and how to fix the usual problems.
Bulqq is reader-supported: when you buy through a link on this page we may earn a commission, at no extra cost to you. It never changes what we recommend — the product rows here are pulled from live listings, newest first.
A glueless wig is designed to stay put without adhesive. Instead of glue or tape, it relies on three things working together: combs sewn into the cap that grip your own hair, an elastic band or adjustable straps that pull the cap snug, and a cap size that actually fits your head.
When all three are right, a glueless wig feels secure enough for a full day out and comes off in seconds at night. When one of them is off, you get the classic complaints — sliding backwards, lifting at the temples, or a hairline that sits too far down your forehead.
This guide is the full fitting routine, start to finish, plus fixes for the problems everyone runs into the first few times. Budget about 15 minutes for your first go. With practice it gets down to five.
What you need
You don't need much, and nothing on this list involves chemicals.
- The wig, ideally with pre-cut lace and a pre-plucked hairline. If yours has uncut lace, see step 6.
- A wig cap in a shade close to your skin tone — or skip it if your hair is short and flat.
- A comb and a few clips for sectioning.
- A mirror, plus a hand mirror or your phone camera for the back.
- Optional: an elastic band if your wig doesn't have one sewn in, a wig grip band for extra hold, and a little foundation or powder to blend lace.
If you're still collecting basics, our guide to wig caps, grip bands and edge tools explains what each one actually does.
Step 1: Prep your own hair flat
The flatter your own hair, the more naturally the wig sits. A bump under the cap pushes the wig away from your head, and that's what makes it lift and slide.
- Short hair — brush it back and you may not need anything else.
- Medium to long hair — two or four flat braids or cornrows going back are ideal. Low, flat buns pinned close to the head also work.
- Very thick hair — keep sections small and braids flat; avoid a single big bun at the crown.
Leave your edges and baby hairs alone. Don't slick them down with strong gel if you can avoid it — the point of a glueless wig is to give your hairline a rest. Our hairline health guide explains why repeated tension along the edges matters.
Step 2: Put on the wig cap (if using one)
Stretch the cap over your head from front to back, so its front edge sits just behind your natural hairline — not on it, and not over your forehead. Tuck any stray hair underneath. Smooth out wrinkles; they show through thin lace.
If you're using a grip band, it goes on next, around your hairline like a headband, fastened at the back with its velcro. It gives the combs and cap something soft to grip and takes pressure off your edges.
Step 3: Adjust the straps before the wig goes on
This is the step most people skip, and it's the one that decides whether the wig slides.
Turn the wig inside out and find the adjustable straps at the back of the cap — usually two elastic straps with hooks. Most wigs ship set loose, at the largest size. Tighten them a notch or two, put the wig on briefly to test, and adjust again. You want it snug: firm all around, but not so tight that you feel pressure at the temples after a minute. If it gives you a headache, it's too tight.
If your wig has an elastic band across the back of the lace (common on glueless lace wigs), check that too. It should pull the lace gently flat against your forehead, not dig in.
Step 4: Place the wig from front to back
Hold the wig by the sides, with the front lace facing you. Line the front edge of the lace up slightly below your natural hairline — about a finger's width down — then pull the wig back over your head in one smooth motion.
Now make the small adjustments:
- Centre it. Use the part, or the middle of the lace, to line up with the middle of your nose.
- Check the ear tabs. The little lace tabs near your ears should sit in front of your ears and level on both sides.
- Find your hairline. Slide the wig back until the wig's hairline sits just in front of your own. Too far forward looks like a helmet; too far back shows your own hair or the cap.
Step 5: Secure the combs
Glueless wigs usually have a comb at the front and one at each side by the ears, sometimes one at the nape.
- Front comb — slide it forward slightly, then flip it back and push it into your hair or braids. It should grip, not just rest.
- Side combs — push them back and down into the hair above your ears.
- Back comb — tuck it up into the hair at your nape.
If you don't have much hair for the combs to grip, the grip band from step 2 gives them a hold. Some people also sew in an extra comb at the front for more security — an easy, no-chemical upgrade.
Step 6: Trim the lace if it isn't pre-cut
If your wig has pre-cut lace, skip this.
If not, there's a wide band of lace beyond the hairline that needs trimming. Do it slowly, with small sharp scissors, in short snips:
- Pull the hair back with a headband or clips so you can see the lace clearly.
- Cut a gentle zig-zag rather than a straight line — a straight edge catches the light.
- Leave about 1–2 mm of lace in front of the hairline. You can always cut more; you can't put it back.
Lace cutting is irreversible, and most retailers won't accept returns on a wig with cut lace. Make sure you're keeping it before you cut. Buying pre-cut lace wigs avoids this step completely.
Step 7: Lay and blend the lace
With the wig secured, press the lace down along your hairline with your fingertips. On a good glueless fit, the elastic band and combs keep it flat on their own.
To blend it:
- Lace a shade lighter than your skin? Dab a little foundation or powder that matches your skin on the underside of the lace before putting the wig on, or lightly on top after.
- Edges lifting? Tie a soft scarf or an elastic melt band around the hairline for 10–15 minutes while you do your make-up. It presses the lace flat without any adhesive.
- Hairline too sharp? Pull out a few fine strands at the front to frame your face, or style the baby hairs with a soft brush.
Step 8: Style it and check from every angle
Part the hair, brush it into place and style. Then check: front, both sides, and the back with a hand mirror. Look for cap showing at the nape, lace lifting near the ears, and whether the part looks centred.
Then do the movement test. Turn your head quickly, look up and down, and gently run your hand from front to back. If it shifts, tighten the straps a notch or reposition the front comb.
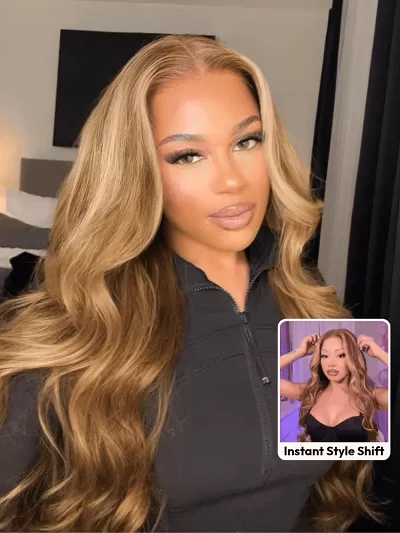
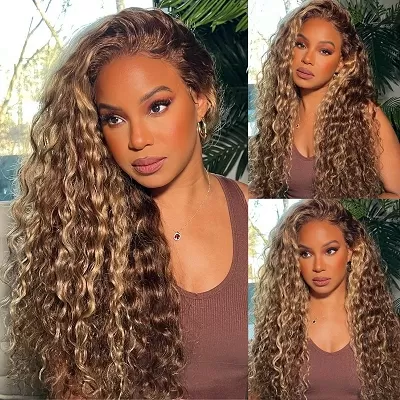
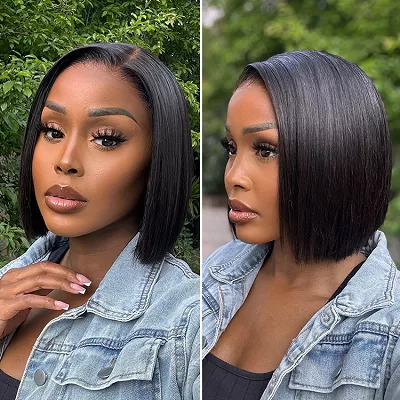

Fixing the common problems
It slides backwards during the day
Almost always the straps. Tighten them one notch. If they're already tight, your cap may be too big for your head — measure yourself properly (here's how) and look for a smaller cap size next time. A grip band adds friction in the meantime.
The front lifts or bubbles
The elastic band may be too loose, or there's a bump of your own hair underneath. Re-flatten your hair at the front, re-seat the front comb and use a melt band for 10 minutes. If the lace is uncut and too long, it can also fold and lift — trim carefully.
It's uncomfortable or gives you a headache
Too tight. Loosen the straps a notch. Pain at the temples or behind the ears is a sign to stop and readjust, not to push through. Repeated tight wear causes traction damage to your own hairline over time.
The hairline looks too dense or too dark
That's a hairline issue, not a fitting one. A pre-plucked hairline helps. Wearing a few face-framing pieces, a side part or soft layers also breaks up a dense edge. Our customising guide explains why plucking yourself is a "go slow" job.
The knots show as tiny dark dots
On dark hair over light lace, the knots can show. Bleached knots solve it but are a chemical process. A little concealer or powder on the underside of the lace is the no-risk fix.
Taking it off at night
The big advantage of glueless wear: you can take it off every night, which gives your scalp and hairline a break.
- Release the combs gently — back, sides, then front.
- Lift the wig from the back and forward, rather than pulling from the front lace.
- Brush it out lightly and put it on a wig stand or mannequin head so it keeps its shape.
- Take out your braids or let your hair breathe if you can.
Our wig stands and storage guide and daily care guide cover keeping the wig in shape between wears.
Which glueless wigs are easiest to fit?
If you're still choosing, these features make the routine above noticeably easier:
- A smaller lace area — a 5x5 closure or 7x5 lace glueless wig has less lace to lay than a full 13x4 frontal.
- Pre-cut lace — removes step 6 entirely.
- Pre-plucked hairline and bleached knots — less blending work in step 7.
- A built-in elastic band — keeps the front flat without a separate melt band.
- Moderate density — 150–180% is lighter on the head than 250%.
Browse all glueless wigs, or narrow it to 7x5 lace wigs, which many retailers build specifically as wear-and-go units. Before you pay, check current coupon codes for the retailer you've chosen.
Glueless fit questions
Can I wear a glueless wig to the gym?
Yes, with the straps snug and a grip band underneath. Sweat loosens the hold at the front, so a sports headband over the hairline helps — see our guide to wigs for an active lifestyle.
Can I add glue to a glueless wig later?
You can — glueless is about the cap's design, not a rule. But adhesives bring patch testing, removal and hairline risks. Read adhesives and safe removal and the patch testing guide before you do.
How long does a glueless install last?
As long as you're wearing it that day. Glueless wigs are meant to come off at night, so there's no "install" to maintain for weeks — which is exactly what makes them easier on your own hair.
Browse what this covers
Now you know what to look for
Put it to work. Answer five quick questions about the look you want and how you'll wear it, and we'll match you to one wig — with the reasons why, so you can judge it for yourself.
Find my match →Or see every wig compared by lace, density and price — and before you pay, today's wig coupon codes.